
By Valarie Adams · June 15, 2026
Home Staging Checklist for San Antonio Sellers
A room-by-room checklist can make listing prep calmer and help every showing start with a stronger first impression.
What should sellers do first before staging?
Walk the home the way a buyer will experience it online and in person. Start at the curb, then move through the entry, living room, kitchen, dining area, primary suite, secondary rooms, and outdoor spaces.
Do not start by buying decor. Start by removing the items that make rooms feel smaller, busier, or harder to read. Staging works better after the extra visual noise is gone.
- Clear the entry path and remove extra shoes, bags, keys, and mail.
- Open blinds and check what each doorway reveals.
- Remove personal stacks from counters, desks, nightstands, and shelves.
- Make sure each room has one clear purpose.
- Create a storage plan for items that need to disappear before photos and showings.
Entry and living room staging checklist
The entry and living room usually set the tone for the listing. Buyers should be able to understand the room quickly without navigating extra furniture, baskets, cords, or personal items.
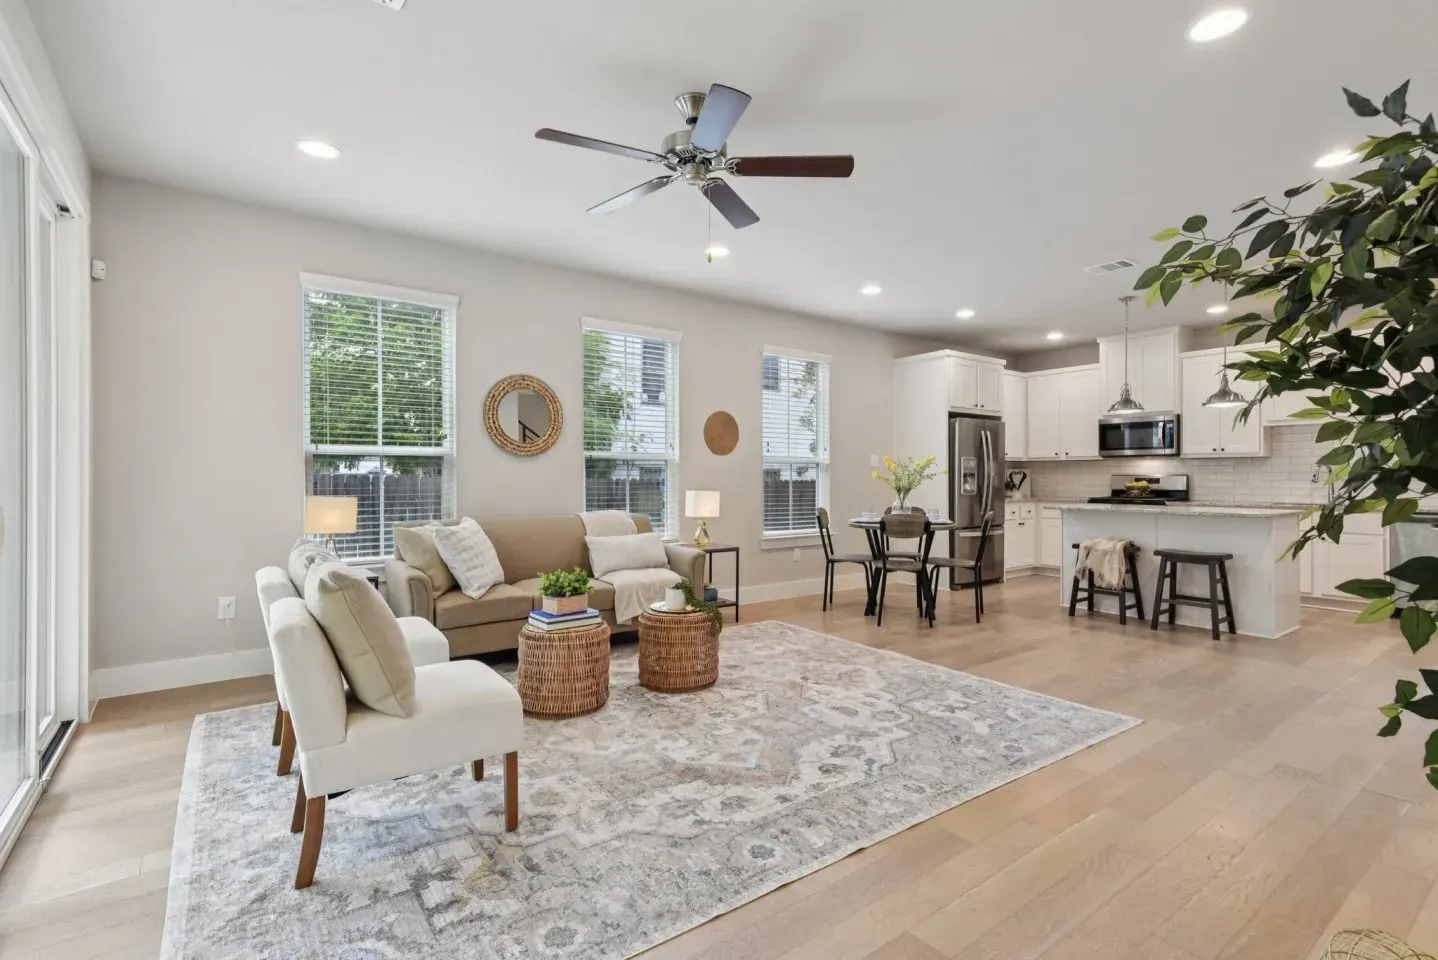
If the living room is the first major photo, give it enough space to breathe. The rug should anchor the seating area, the walkways should feel clear, and the main view should point to the room, not the television cords or a storage corner.
- Remove extra shoes, bags, pet items, mail, and seasonal clutter from the entry.
- Edit console tables and shelves to a few intentional pieces.
- Pull furniture away from blocked paths if the room feels tight.
- Hide cords, remotes, toys, and everyday stacks before photography.
- Check whether the main seating area makes the room scale easy to understand.
Kitchen and dining staging checklist
Kitchens do not need to look unused, but they do need to feel clean and easy to scan. In listing photos, crowded counters can make storage and workspace feel smaller than they are.
Dining areas should show scale and flow. In many San Antonio homes, the dining space connects directly to the kitchen or living room, so the table, chairs, and sightlines need to support that connection.
- Clear most countertop appliances, paper piles, dish racks, and extra bottles.
- Wipe appliance fronts and remove magnets, photos, and papers from the refrigerator.
- Keep sink areas clean and simple.
- Center the dining table and remove extra chairs if the room feels crowded.
- Use low table styling so the camera can see through the space.
Bedroom and bathroom staging checklist
Bedrooms need to communicate scale. If the bed is messy, the nightstands are crowded, or laundry is visible, buyers may focus on the routine instead of the room.
Bathrooms need to feel cared for without looking staged in a distracting way. Clean counters, fresh towels, and simple styling are usually stronger than adding more small objects.
- Make beds tightly and use bedding that photographs cleanly.
- Clear nightstands down to a lamp and one or two quiet details.
- Remove visible laundry, storage bins, and items under furniture.
- Clear bathroom counters and shower ledges.
- Close toilet lids and use fresh towels before photos and showings.
Occupied home staging checklist for sellers
Occupied sellers need a plan they can actually maintain. The goal is not to empty the home. The goal is to make it easier for buyers to see space, light, room purpose, and condition.
Create two lists: what stays in place for the listing period and what gets stored before photos or showings. This keeps the prep from turning into a daily scramble.
- Keep daily-use items in bins that can move quickly.
- Choose one closet or garage zone for photo-day storage if the Realtor agrees it will not hurt the showing plan.
- Remove small rugs that break up sightlines or make flooring look busy.
- Keep pet items, work bags, laundry, and paperwork out of photo paths.
- Ask for an occupied staging consultation if the list feels too long to prioritize.
When should sellers hire a home stager?
Bring in staging help when the room still does not explain itself after cleanup. That may mean an empty living room, a crowded occupied room, a flex space with no clear use, or a listing that needs a stronger relaunch before another round of photos.
A consultation can be enough when the seller can do the work. Hands-on staging may be the better fit when the home needs furniture, accessories, or a finished presentation for vacant rooms.
- Use a consultation for seller prep, furniture editing, and priority lists.
- Use occupied staging when the seller needs layout and styling support.
- Use vacant staging when rooms need scale, warmth, and purpose.
- Use partial staging when only the main photo rooms need help.
Related home staging services
Home Staging Checklist for San Antonio Sellers FAQs
How early should sellers start staging prep?
Start before listing photos are scheduled if possible. That gives time to edit rooms, adjust furniture, and decide whether staging support is needed.
Do I need to remove all personal items?
No. The goal is to reduce distractions, not erase the home. Focus on items that pull attention away from the room in photos or showings.
Should I buy new decor before staging?
Usually, no. Edit surfaces, improve layout, and clarify room purpose first. A staging consultation can tell you whether anything needs to be added.
What rooms matter most for listing photos?
Entry, living room, kitchen, dining area, primary bedroom, bathrooms, and outdoor spaces are usually the first rooms to review.